Stainless Steel Backsplash
Design Your Backsplash
Need Kitchen Backsplash Samples?
Choose finishes and get your samples in 2 business days.
Shop for Samples- Free 2-Day shipping
Click on any link below to get more information
These are some of the most popular questions we get asked about stainless steel backsplashes, and cover measuring, finishes, hems, installation, packaging and shipping.
Which Thickness of Backsplash Should I get?
20 ga. (.038") - Heavy Duty:
The 20 gauge thickness is for applications such as prosumer kitchens, restaurants and other applications where heavier material is needed, or for those who desire a slightly more dent resistant backsplash that is less prone to rippling during installation. For comparison's sake, the thickness is close to that of a CD or DVD. The 20 gauge is the option for customers who like to ensure they're only getting the best, and are more concerned with quality than price.
22ga. (.031") - Most Popular:
The 22 gauge thickness is the most popular because it provides a good balance between rigidity, weight, and price. It won't ripple from adhesives such as RTV silicone or construction adhesive when applied correctly. As such, to ensure a drama-free installation select the "mounting tape" option at Step 4. The sheets are about as thick as your credit card. 22 gauge is the right thickness for most backsplash applications and is a good choice if you just want to protect your walls or other vertical surface.
24ga. (.025") - Light Duty:
The 24 gauge thickness is ok if you have no hems and a perfectly flat mounting surface, and are going to be using an adhesive such as 3M Hi-Strength 90 contact cement which can be picked up at most hardware stores. 24 gauge is far less forgiving when it comes to dents, rippling, kinks, etc. so you will need to be more careful when handling and mounting it. The 24 gauge sheets are about as thick as a laminated business card. A rigid mounting surface such as plywood or heavy Sheetrock (5/8") is highly recommended. In most cases the 24ga material will have some rippling, unless your backer or substrate is perfectly flat.
Pattern Selection and The #4 Brushed Finish
Which Pattern Should I Get?
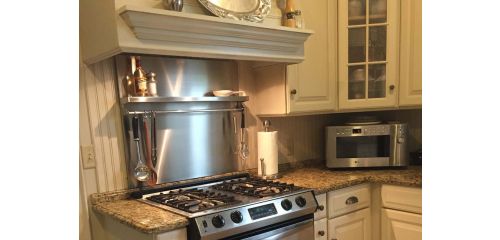
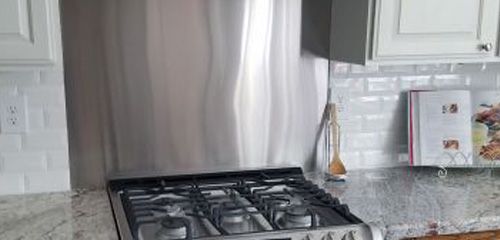
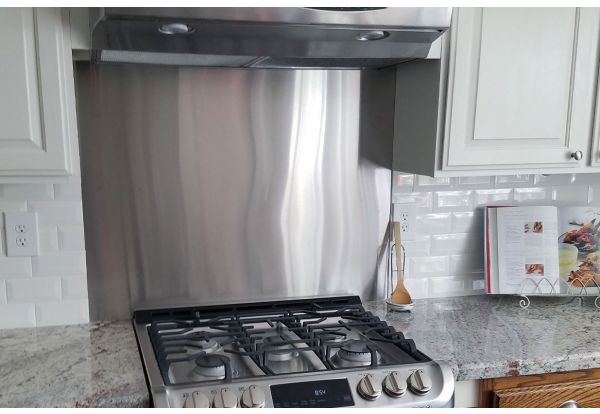
This question is pretty open ended, but there some things to consider. First off, the #4 brushed is the most popular not only because it matches appliances, but also because of price and aesthetics. It looks fantastic whether used as a small piece or as a larger backsplash behind an entire counter or in a kitchen. Because of where it’s installed, behind your oven or stove, behind a sink, etc, it’s easy to keep clean and looking brand new for years. Nobody will be getting fingerprints on it and any messes can be quickly and easily cleaned off. We use Weimann stainless steel cleaner, but there are dozens of products that do a fine job. So, if you have decided the #4 brushed finish is still not for you, read on…
Many people do want a textured or embossed backsplash simply for looks, or that will help hide dents, scratches, excessive cleaning, etc. For this, most of the textured finishes are superior to the #4 brushed. Specifically, we really like the Rippletex finish, which resembles tree bark or a water fall, depending on orientation. The grooves look deeper, but that’s an optical illusion. It looks fantastic, and helps to hide scratching, dents, etc. The textures that are less or non-reflective will tend to show more fingerprints, spots over time. Other than that, all the finishes are relatively easy to keep clean and will provide a very long-lasting solution if you maintain them properly. That is, don’t use any abrasive cleaning products or paper towels. We recommend warm, soapy water and lint-free rags or microfiber towels for grease and general cleanup. A stainless steel cleaner will remove any fingerprints, water streaks, etc. In addition, a stainless steel cleaner will keep the backsplash looking brand new.
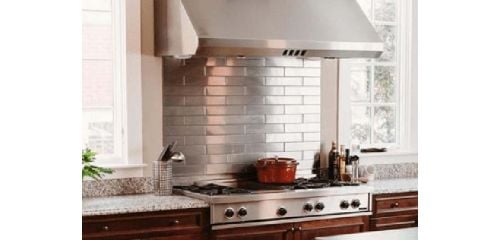
You can check out the customer installations for inspiration, or head on over to the kitchen visualizer for renderings of the backsplash finishes in a conceptual kitchen. This is meant to help illustrate how the finish will look behind an oven, or as a full backsplash. You can also order backsplash samples. These are 8" x 8" so you know exactly what you’re getting when it comes time to order.
Top of PageWhat Exactly is the #4 Brushed Finish?
Stainless steel appliances are typically made with “brushed" stainless steel which has a grain (brush strokes) to it that are achieved by running the material through a surface polishing machine that uses 150 grit abrasive. Most, as in 99.9% of appliances, are made with this #4 brushed material due to the ubiquity of the finish. We offer the option for you to specify the “grain direction" of the #4 brushed backsplash material if you want to match your hood, oven, range, dishwasher, trash compactor, fridge, or whatever else you have. If you have not noticed a grain to the finish, look closely and you’ll see brush strokes running either left to right or up and down. For those concerned about how well the #4 brushed finish will match their current stainless steel appliances; In the past 8 years, we have had 2 instances where customers felt it didn’t match well enough.
Top of PageMeasuring and Installation of Backsplash – Location and Thermal Expansion, Mounting Holes vs Installation Tape, Installing on Textured Surfaces, and More
Measuring For Your Backsplash
Measuring for a backsplash is relatively simple, but is the most critical aspect of your installation. Take a moment to make sure you’re getting it done right, and you’ll probably save yourself a whole boatload of problems during the installation. We have a couple of resources for you, but the most important thing is to measure carefully and to check for level (horizontal surfaces), plumb (vertical surfaces), and out-of-square corners.
You can find a write up on how to measure for your backsplash on the blog, and there are a couple of PDF’s available on the download tab here at the product.
Top of PageBacksplash Location and Thermal Expansion – IMPORTANT!
Stainless steel, like all metals, expands when heated. On a backsplash this expansion amount is tiny, but when it's securely taped and glued to a wall and you heat up the material enough so it expands 1/64in or 1/32in, it has to go somewhere. This will either result in the panel rippling or completely detaching from the wall. HOWEVER, this is ONLY an issue on some commercial type OVENS that are PROPANE or NATURAL GAS (e.g. Wolf, Thermador, Blu Star, etc) and grills. We have NEVER experienced this on your LG's, GE's, Kenmore's, and other residential ovens, and thermal expansion is NOT an issue with cooktops or electric appliances.
Manufacturers are becoming aware of this issue, and on the newer commercial type ovens the vent points forward or at an angle upwards to keep the heat away from the wall and/or backsplash. When the hot air from the oven is directed away from the backsplash, expansion is not an issue. On grills, you typically have a lot more heat coming out the back of the grill, so if the backsplash is within 12in of the grill we recommend you use screws to attach your backsplash instead of tape and/or adhesive.
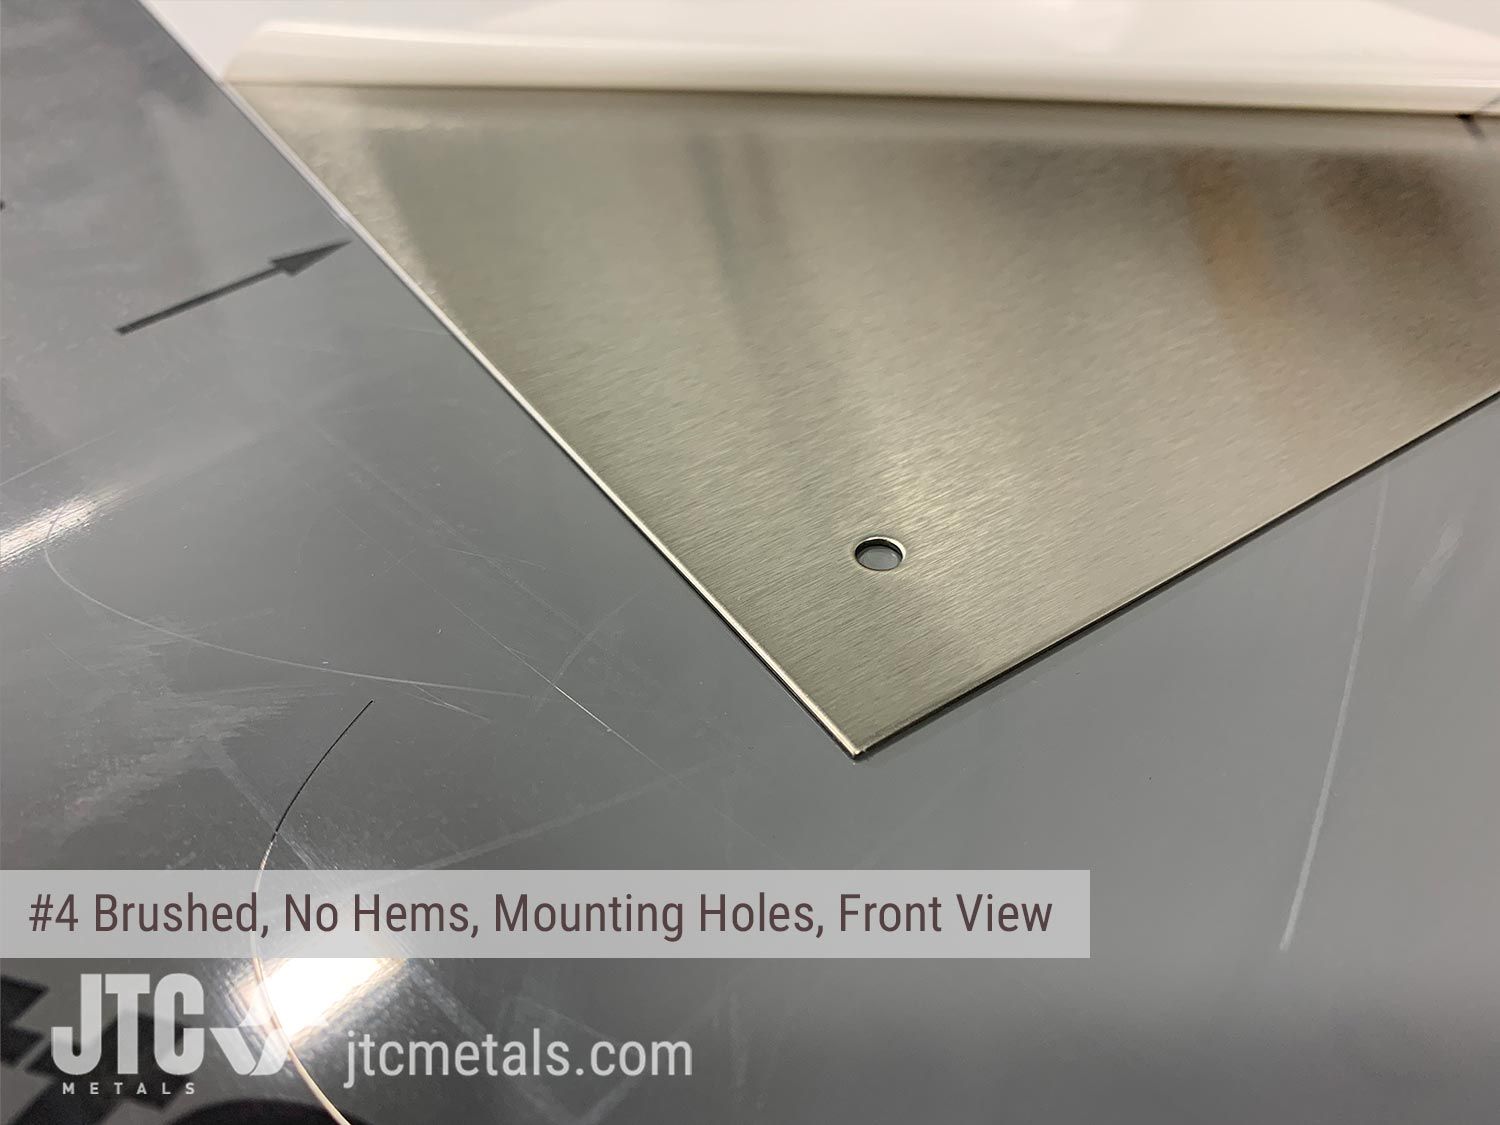
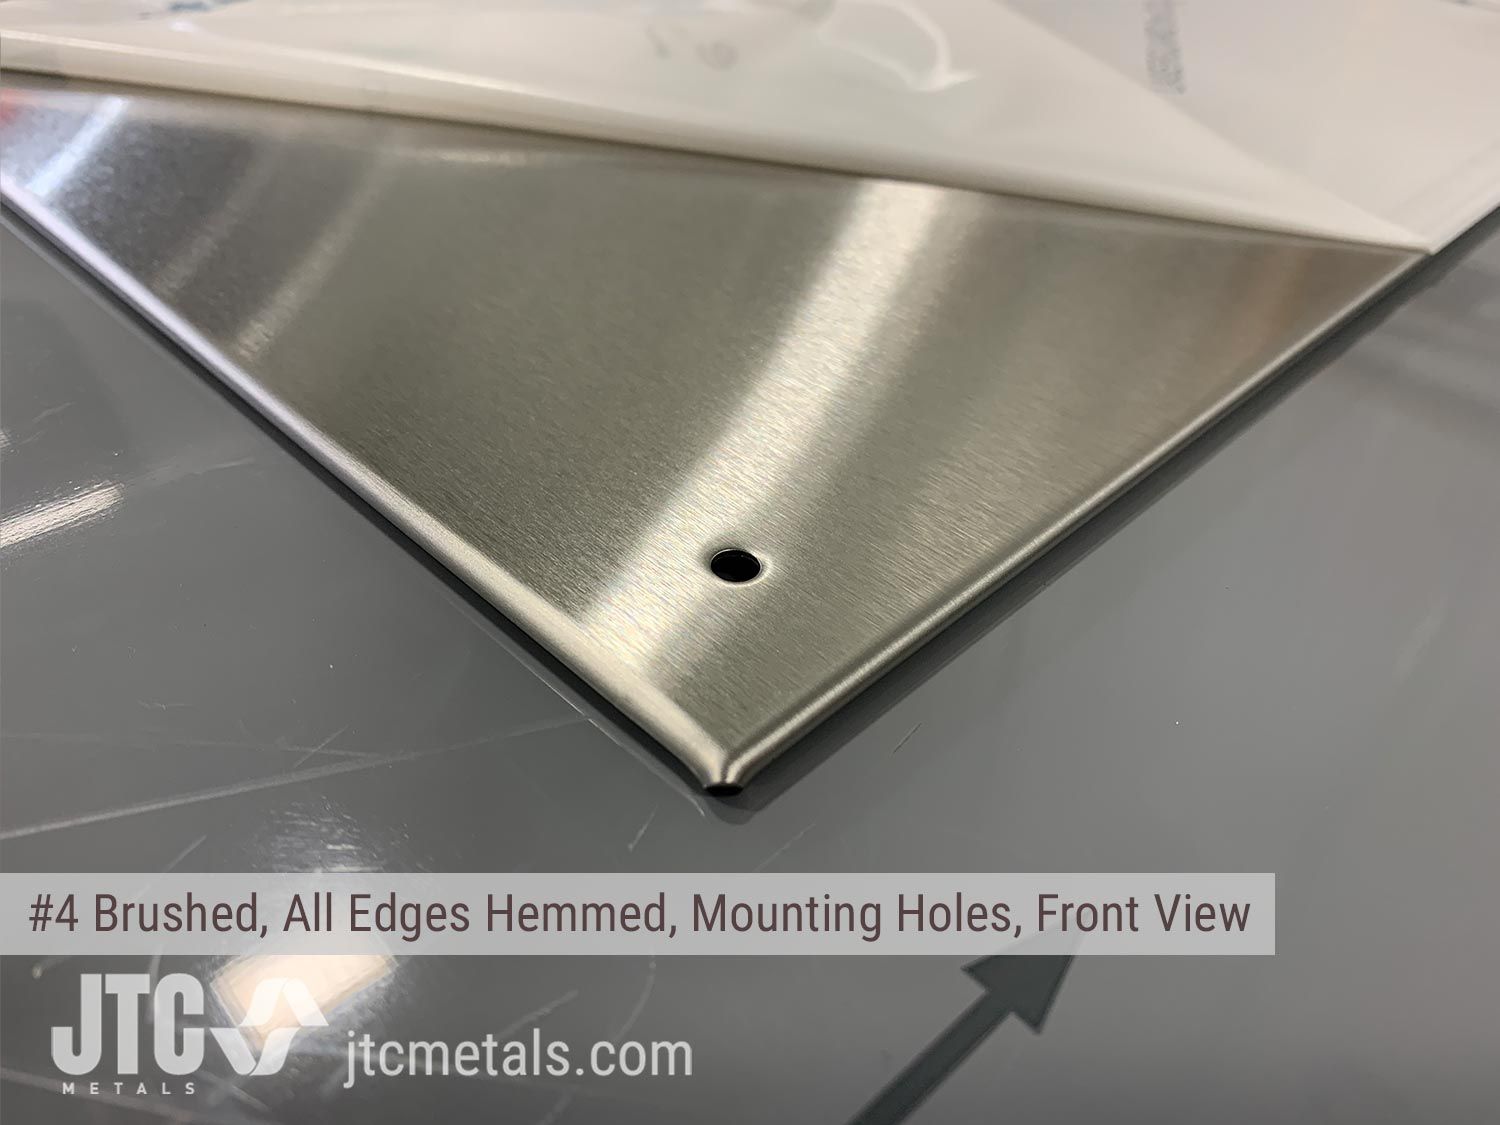
The expansion issue is addressed by using mounting holes w/screws to attach your backsplash. The mounting holes are 3/16in, and when using a #8 screw, you have plenty of room for the expansion of the stainless steel. To recap, this is only necessary if you have a commercial type oven that vents straight up, or your backsplash is within 12in of your grill.
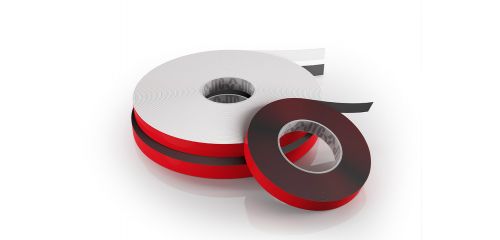
Top of PageInstallation – Tape or Holes?
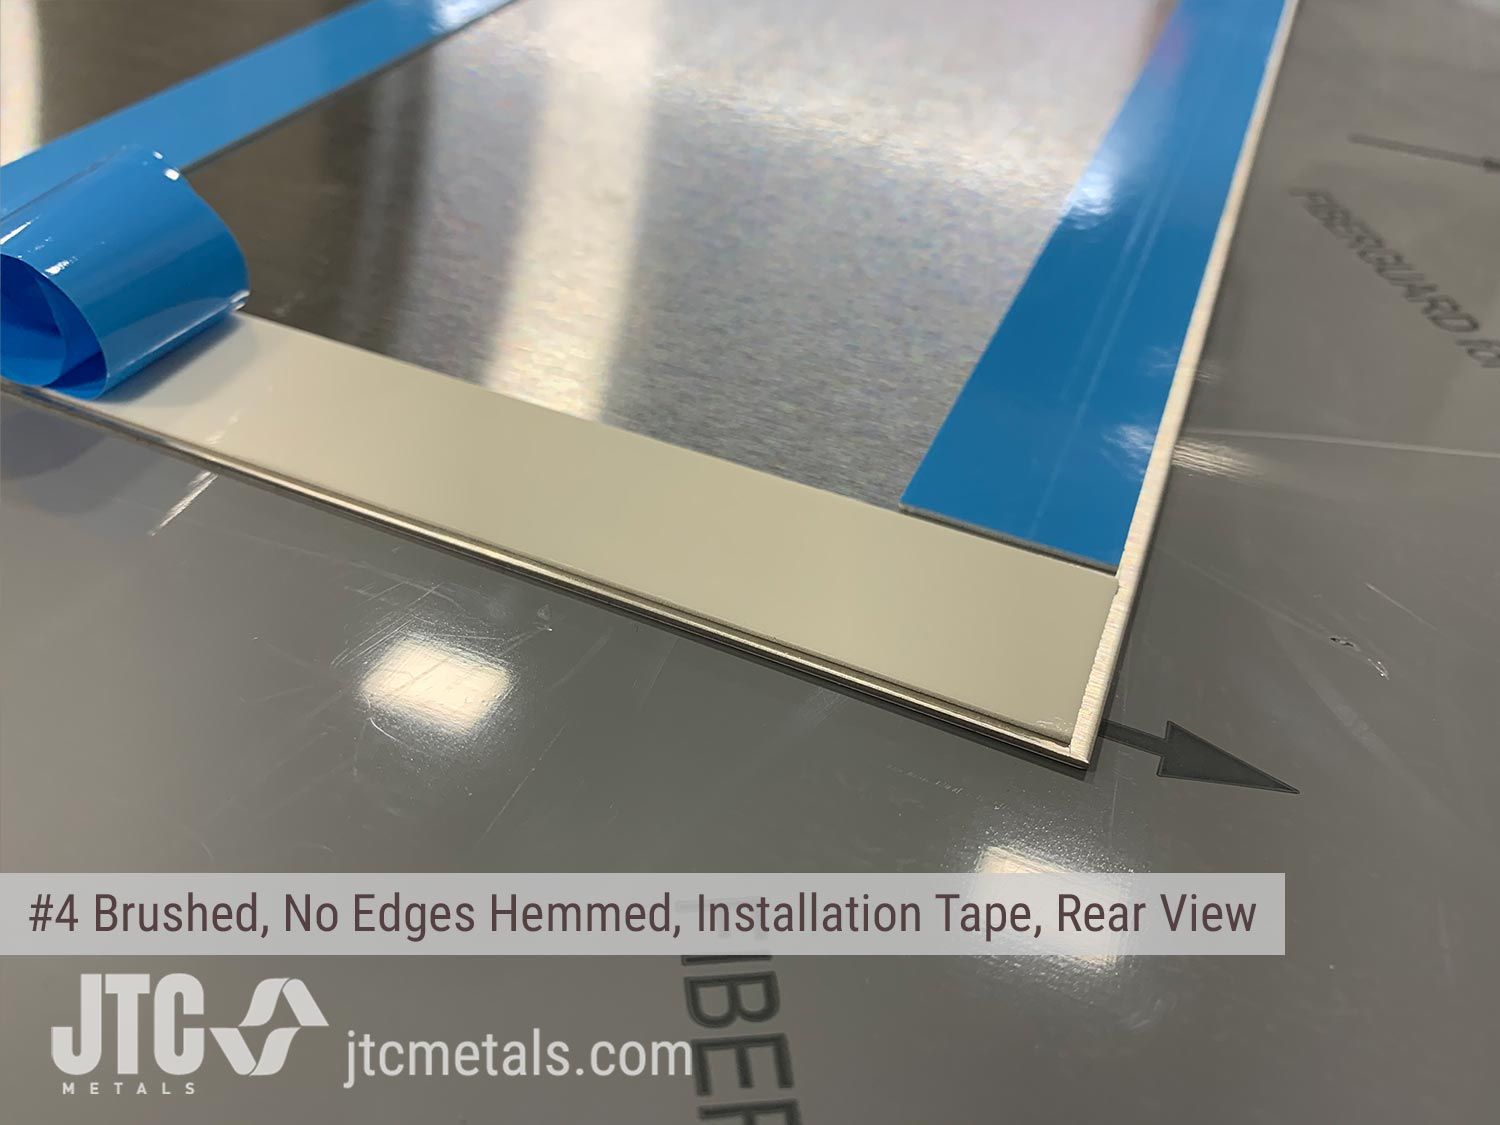
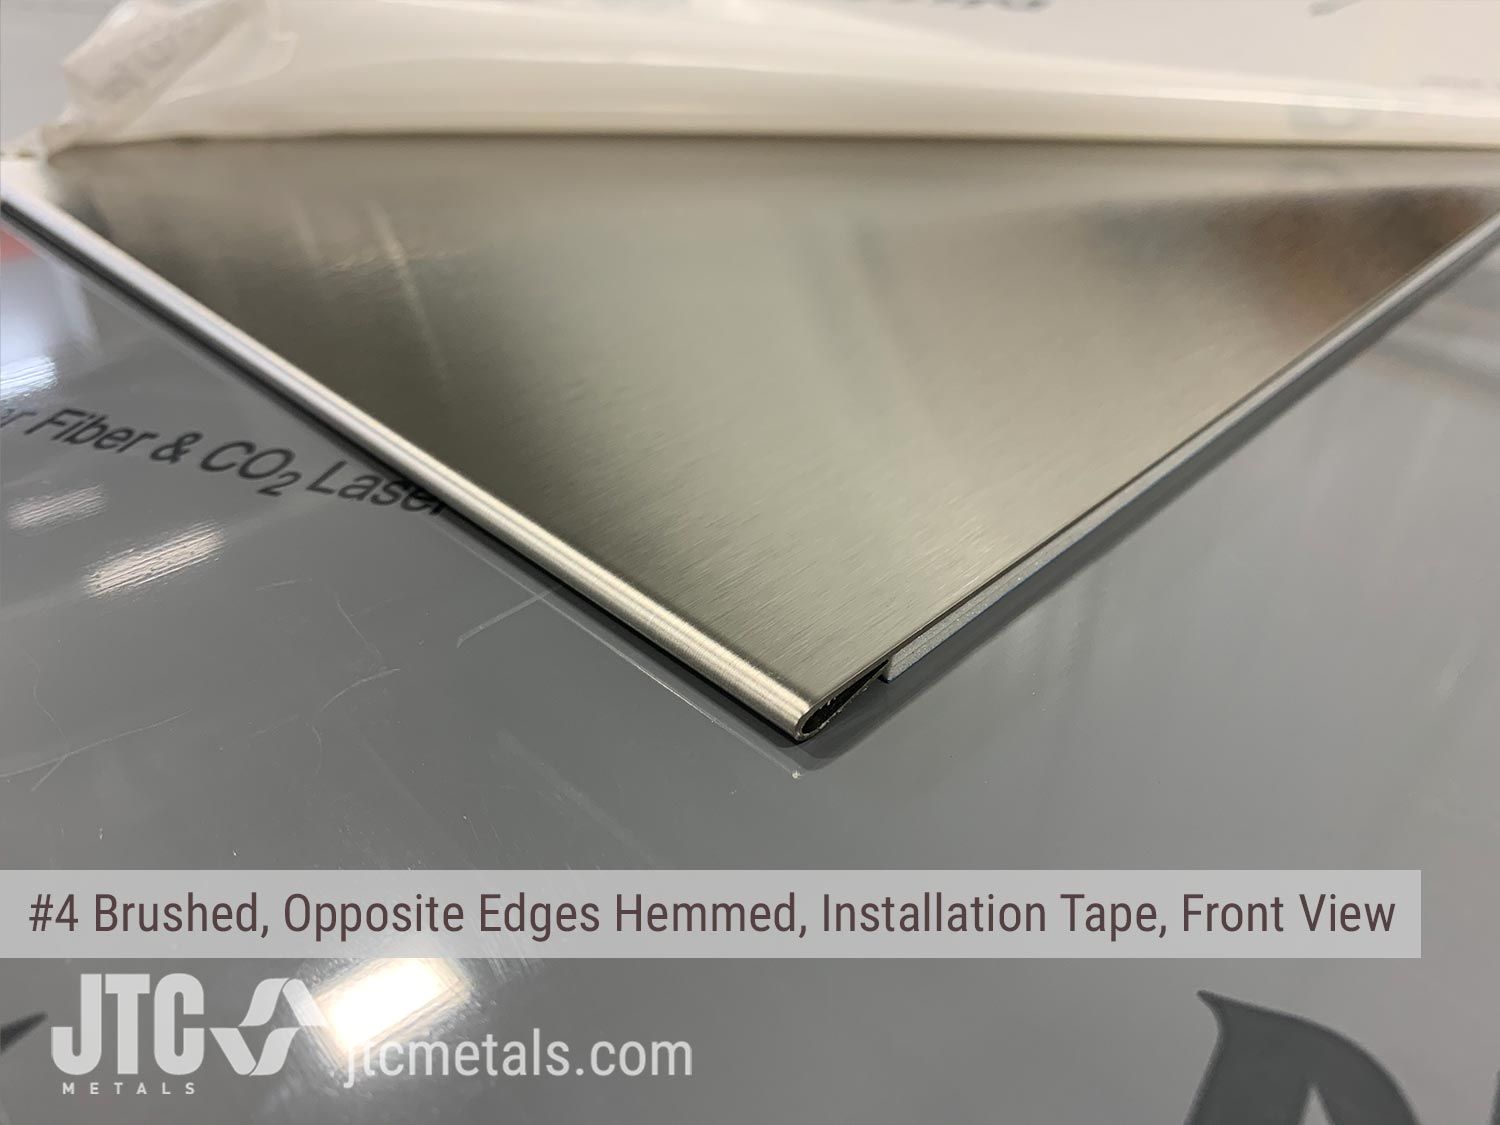
We have two thicknesses of installation tape, and when you select the two-sided tape option we apply the tape for you. One is for hemmed panels and one is for unhemmed panels. On a hemmed panel there is an 1/8" gap behind the panel due to the thickness of the hems. The two-sided tape perfectly fills this gap and you have a flat panel with the hemmed edges flush against the wall. For unhemmed panels we use an extremely thin tape that is about 1/32" thick to ensure you panel does not stand off the wall. Both tapes are extremely aggressive and meant for hard-to-stick surfaces such as as latex paint, powder coat, etc. These are a permanent solution and not meant for removal. HOWEVER, in the real world, there are many things that can affect the effectiveness of the bond, so we do recommend using RTV silicone in addition to the tape. For example on the Rippletex finish, there isn’t a lot of surface area for the tape to stick to, so the RTV silicone provides that extra support needed to ensure a long-lasting installation. Click here for a spec sheet on where we apply the tape and for where to apply the adhesive.

Top of Page
What are The Mounting Holes?
We prefer the two-sided tape for ease-of-use and a clean installation, but there are some instances where mounting holes are preferred, or actually recommended. You may want to be able to remove the panel without destroying it or the wall. Also, sometimes a backsplash is very close to a commercial gas oven or outdoor grill and in these instances mounting holes are advised as the metal will tend to slightly expand because of the heat from the appliance. Many customers have professional grade GAS ovens like a Wolf, Thermador, Blue Star, etc, and some of these have the vent from the oven pointing straight up instead of slightly forward. If this is the case, we recommend mounting holes due to the excessive heat from the oven vent causing expansion in the metal. This expansion is very little, but if the panel is rigidly glued to the wall or a backer, and it expands 1/32", you’re going to have a buckled panel. The mounting holes allow for this slight expansion, and your panel stays flat.
A lot of people don’t like the appearance of the screws and here are a couple of tips for you. Only use panhead screws for fastening. These are flat on the bottom and will not dent the sheet metal if used correctly. If you want to hide the screw, you can also purchase stainless steel screw caps that hide the screws and provide a very clean and aesthetically pleasing installation.
Top of Page
Uneven Wall Surface or Holes?
There are a couple of things you can do about uneven wall surfaces, but this depends on the situation. If your wall is slightly bowed or has bumps, as in 1/8" or less across the width or height, you can use the hemmed edge to accommodate the bow, bulge, bump(s) etc. Typically we would recommend that you order the backsplash with hemmed edges and either mounting holes or no mounting holes and only apply a strip of tape on each side, leaving the middle empty. You then apply silicone to the area with no tape and install the panel. The silicone will spread out as needed to bridge the gap between the wall and your backsplash, ensuring a flat surface when finished.
Top of PageInstallation on Stone, Granite, Stucco, etc
If you have a textured backsplash such as tile(s), stone, granite, marble, stucco, plaster, quartzite, etc, etc, all is not lost. Many of our customers have replaced their current hard surface backsplashes that are actually quite difficult to keep clean with stainless steel. The general reaction is that of relief that cleaning is suddenly a simple process that doesn’t require a sand blaster, tooth brush, sealer, or some other labor intensive regimen. However, many also wonder about how to install in these kinds of situations. There are two basic options; mounting holes or our fast-grab construction adhesive. We do recommend hemmed edges on all sides, especially if the panel is sitting on top of the current backsplash. This will eliminate sharp edges and give you a finished panel that requires no trim. In addition, if opting for the adhesive, the hems create an 1/8" space behind the panel for the adhesive and for any bumps, high spots, etc. Obviously mounting holes are a bit of a challenge, and that will have to be tackled by you or your contractor.
Top of PageHemmed Edges, Grain Direction, Cutouts, Corner and Trim Options, and More
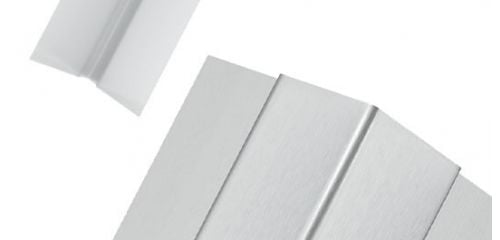
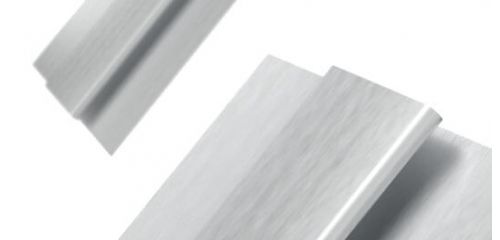
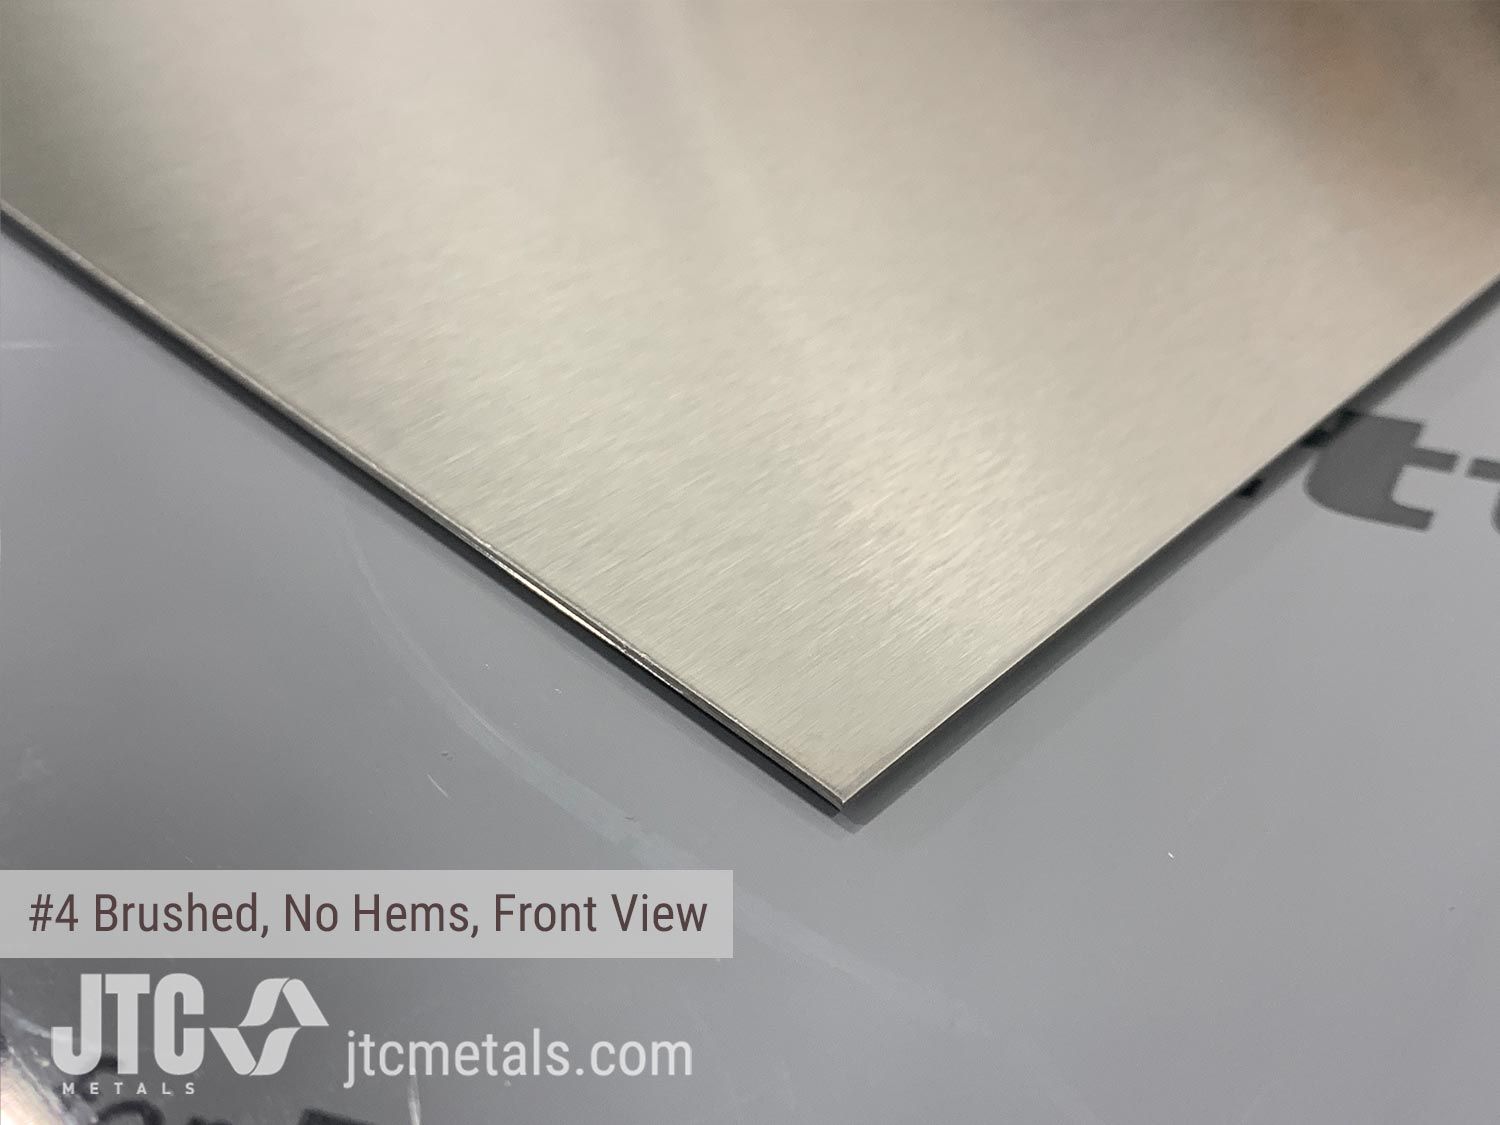
Finishing the Edges – Hems vs No Hems?
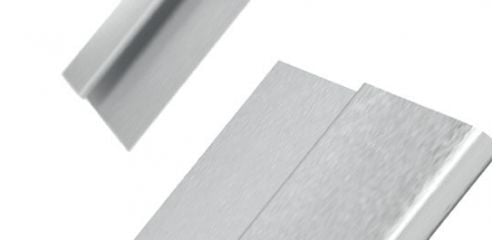
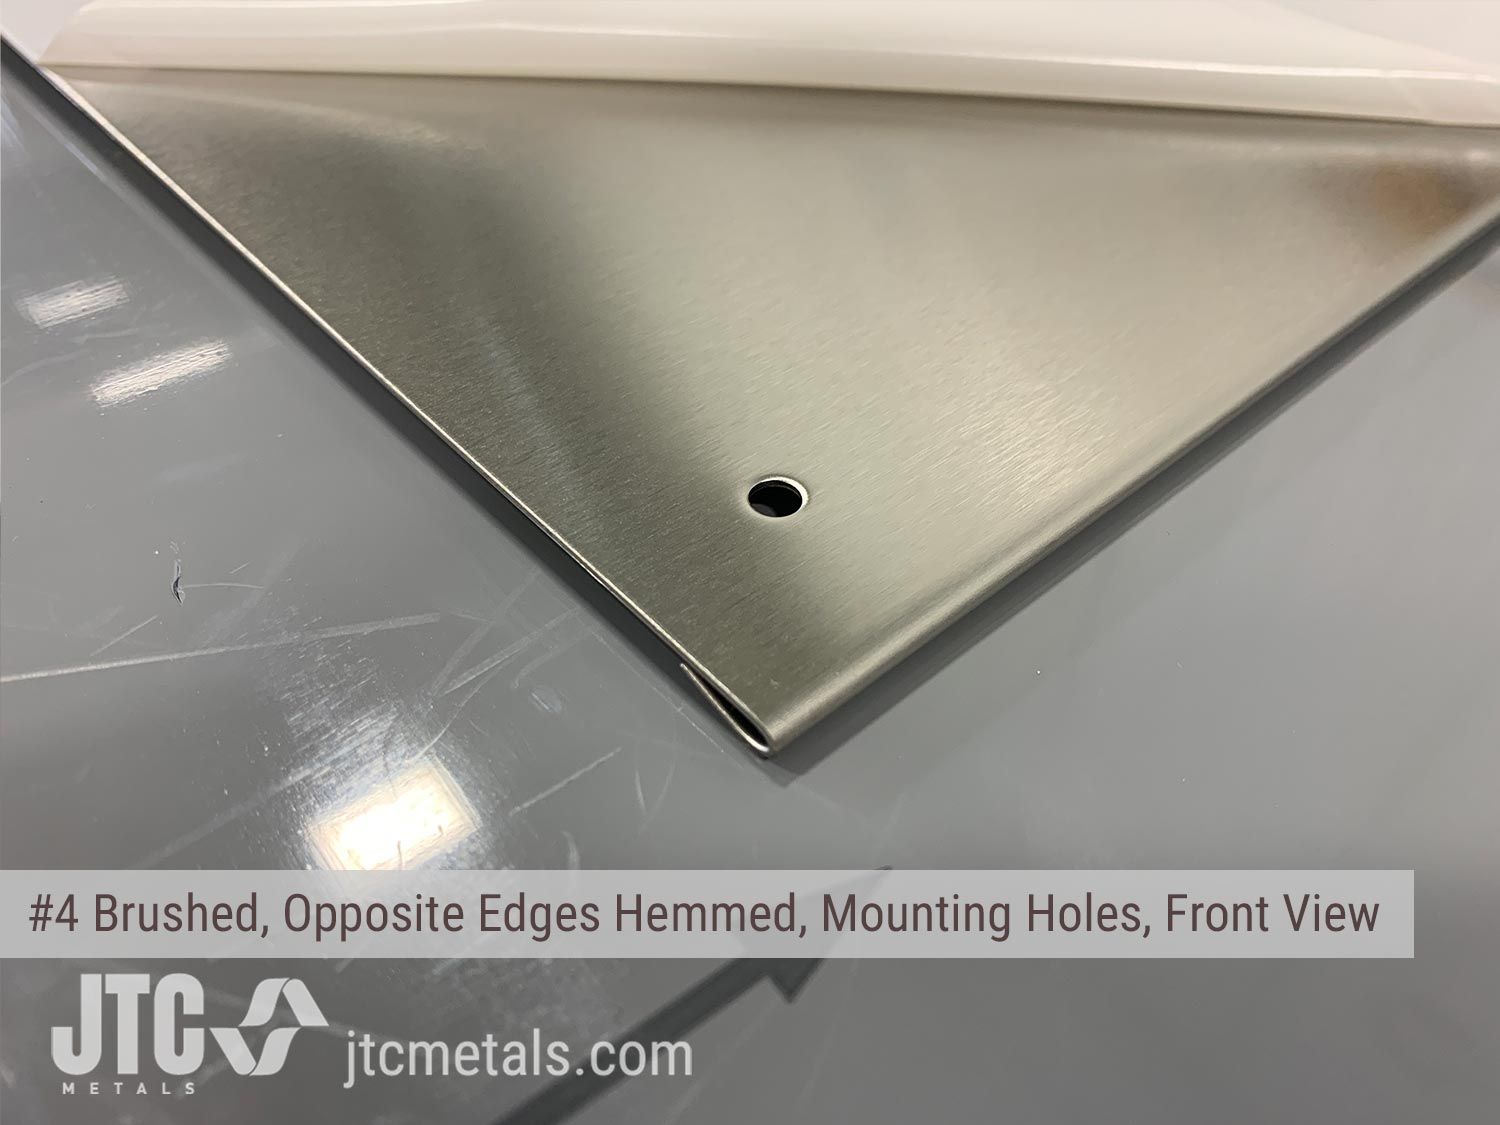
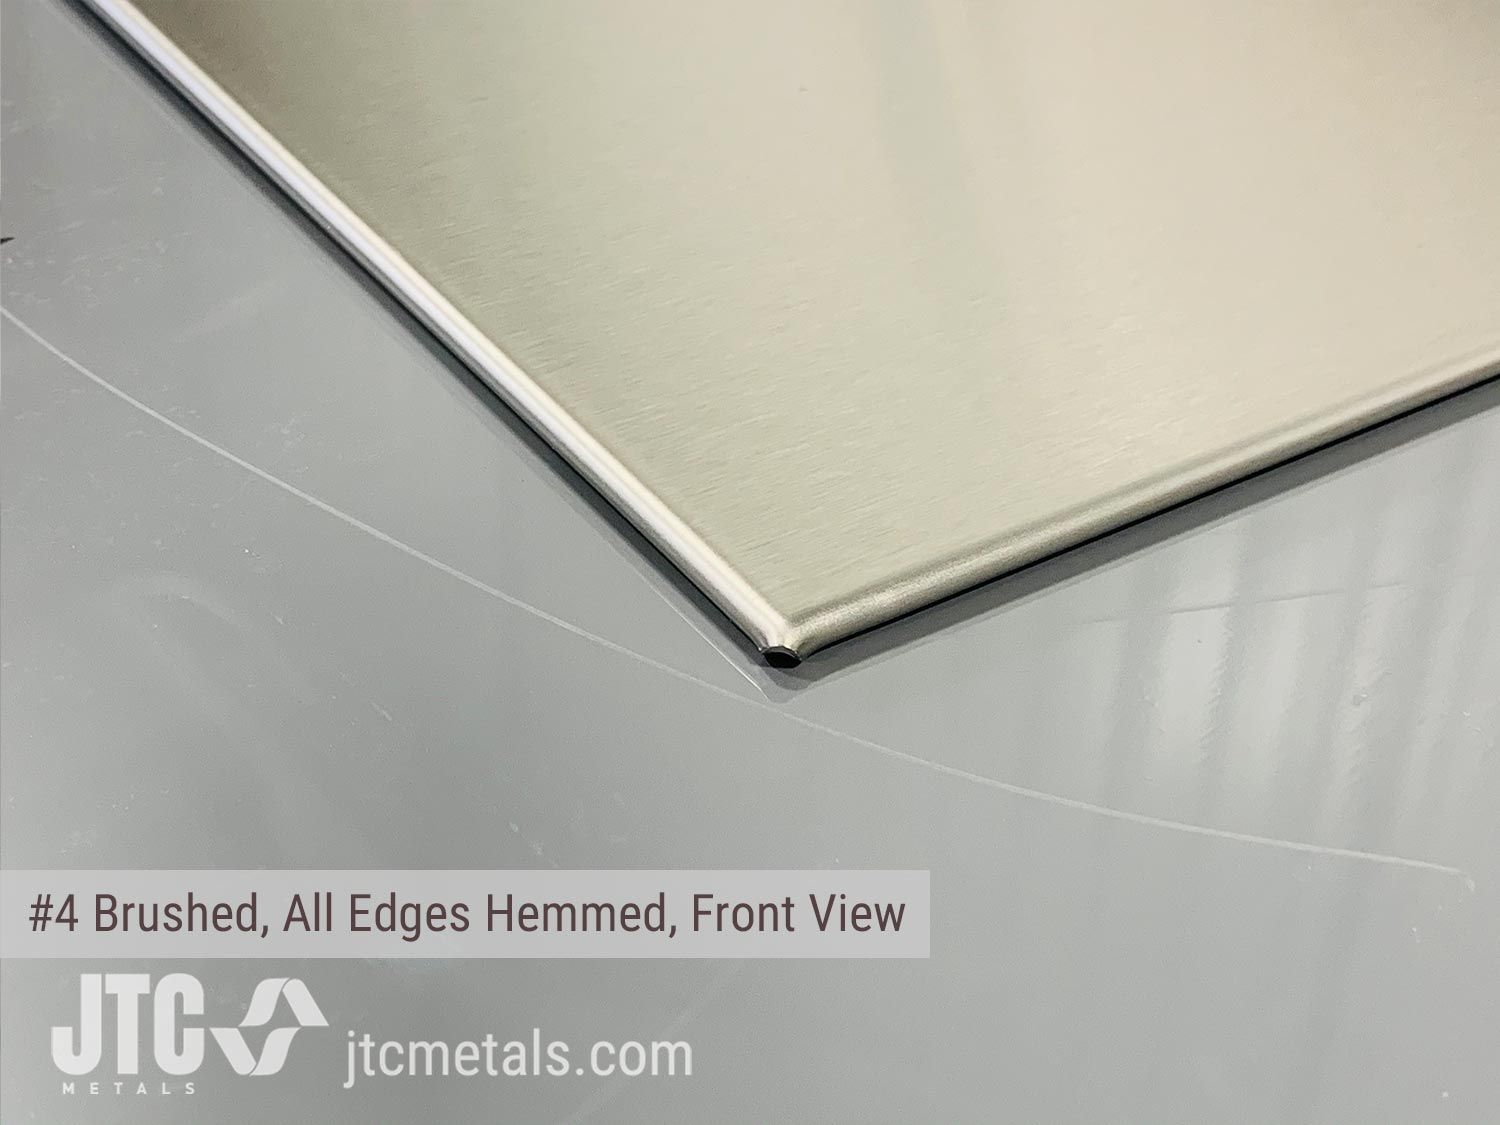
A hemmed edge is about 1/8in thick, and formed when the edge of the sheet is folded underneath and flattened to a tear drop shape. This is called a “tear-drop hem" and it leaves the front of the backsplash flat while giving you a beautifully finished and rounded edge that also increases the rigidity of the backsplash. A hemmed edge is recommended for any exposed edges, especially between your cabinets and countertop. For those questioning hemmed edges. There have been instances where a customer did not get the hemmed edge and when cleaning they actually cut their hand on that un-hemmed edge. If hems aren't ideal for your installation or you really don't want to them, use some kind of trim whether stainless steel or wood. Or you can even use drywall compound to feather the edge of the backsplash in with the wall so it looks flush.
We offer the option of hemming left and right, top and bottom, or select both for all four edges. If budget is not a concern, and you desire smooth edges and a more uniform appearance, specify both top, bottom and left, right edges. You typically do not need the hemmed edges if the backsplash will be against tile, a corner, the hood, or below the oven. However, many customers do prefer a hemmed edge for aesthetic purposes or so they have an edge to push their tile against. We will ensure the final size is made according to your measurements, and you do not need to deduct or add anything for hemmed edges. Simply input your desired width and height when ordering.
Top of Page
Custom Cutouts, Pot Filler Holes, etc?
We offer the option of making outlet cutouts, pot filler holes, notches for cabinets, or almost anything else you need to have cut out of your backsplash. The charge is per piece and is the same whether you have a single outlet or multiple cutouts. Simply upload your drawing or picture and add to the cart. We’ll make a professional PDF with dimensions for you to approve prior to fabrication. We don’t need any fancy drawings, so feel free to make a hand drawn sketch on a piece of paper or markup a picture with dimensions and we’ll take it from there. There are measuring tips here.
Many people have asked why cutouts cost what they do, and the answer is quite simple. You want it done right, and we will make sure the job gets done to your satisfaction. In between the order and shipping there is drawing time, job setup time, cutting time, handling, which is making sure there is no damage, in addition to the equipment and running costs, etc. We’ll take the time to ensure you’re getting what you want and you’ll be happy with the final result.
Top of PageMeasuring and the Accuracy of Cuts?
We want you to know that we understand you want a backsplash cut to the exact specs the job requires. You don’t want a backsplash panel that arrives an 1/8" short or long, or out of square, or scratched, or bent, or otherwise abused. So, while our standard tolerance is -1/16" / +0", the professionals in the shop do their absolute best to cut your backsplash to the exact dimensions you specify. Each customer expects excellence and we expect to deliver that. This mostly comes down to the equipment we use. The long and short is that the true tolerance is closer to -1/32" / +0" and equipment is constantly calibrated to ensure accuracy. We even use precision-made tape measures when checking the pieces at final inspection, and would rather re-cut a piece than ship something that may not meet your expectations.
Having said all that you’re going to need to make sure the measurements you provide are accurate, and we have some resources to help with that. Click here to check out a blog post on measuring, and click here for a PDF with additional pointers on measuring and checking square, etc.
Top of PageWhat Do You Have for Corner and Trim Options?
Many folks have a corner installation, a backsplash that needs to be split up, or maybe you would like to use trim around the edges of your backsplash. For inside corners there are a number of options. You can opt for no trim at all, so one piece would be installed and the next one just pushed against it. This actually looks pretty nice, and there are some pictures below of corners and seams. We have two different trim styles and you can check those out on the stainless steel trim page. Also keep in mind that we can make the PRO trim out of most of the textures to match your backsplash. For low profile inside corner trim you can use ECO trim inside corner, which is a small cove shaped trim about 3/8" wide. We actually discourage the use of trim around the edges of a backsplash. The reasoning includes aesthetics and cleanliness. A hemmed edge looks much cleaner and provides a finished edge. With trim you have an area for crud to build up over time, and it’s harder to wipe down.
Top of PageFire Inspections/Code Requirements
This is a bit of a stickler and just to be clear, we’re not saying yea or nay one way or the other. Many people have called us about using the stainless steel as surface protection measure to mitigate a fire hazard from a burner that’s too close to a cabinet or wall or because it's required. This is a legitimate use of the product and has been approved as such by multiple inspectors around the country, and is actually required per local codes in some areas. Please check your local codes or talk to your building inspector or fire marshal. Many people have simply applied the panels directly to their cabinetry or walls. Another solution we recommend is a panel with an “air gap" behind it to help insulate the metal from the wall. Contact sales to order such a panel.
Top of PagePackaging, Surface Protection, Emails, Shipping Speed
How do You Package Orders?
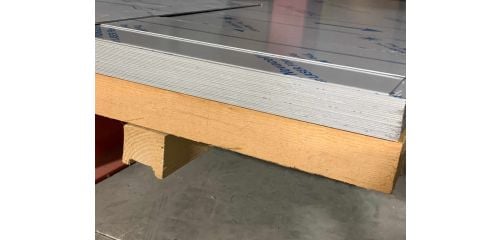
You don’t like to receive damaged product that screws up your day or your schedule, and we dislike filing shipping claims. So, all backsplashes are shipped FLAT in specially designed packaging. Smaller sheets are shipped in quadruple layered, heavy duty, cardboard mailers, and larger sheets are shipped in custom-built mailers with multiple layers and stiffeners. Anything shipped via freight is packaged in lumber to ensure you NEVER have shipping damage. The finished product is well protected to ensure everyone stays happy. In the event the shipping company somehow manages to damage the product by throwing it off an overpass or running over it, a replacement will be made and shipped quickly, typically the next business day.
Top of PageFree Shipping and How Soon?
We are able to offer free shipping on backsplashes that are delivered by FedEx Ground or UPS Ground. However, anything that needs to be shipped via LTL (Less Than Truckload) has variable costs associated with it and because of the wildly different pricing based on the shipping destination, we cannot ship these orders free. We do negotiate the best prices possible from our carriers and these are passed on to you. As such, the rates you see are the best we can get.
*Standard backsplash panels typically ship the next business day after ordering. In some cases, they are shipped 2 days after ordering. Backsplashes with custom cutouts typically take 10 business days when factoring in drawing revisions and laser cutting and/or bending.
**Orders that ship via UPS Ground or FedEx Ground ship free. Any backsplash panels that do not fit on FedEx or UPS will need to ship via LTL (less than truckload), and due to the highly variable costs, these do not ship free. The carrier will typically be either R&L Carriers, TForce Freight (Formerly UPS Freight), and XPO Logistics. In case you're wondering LTL shipments are packed with 7/16" OSB (the stuff houses are made with) and 2x4's, so the damage rate on these is ZERO.
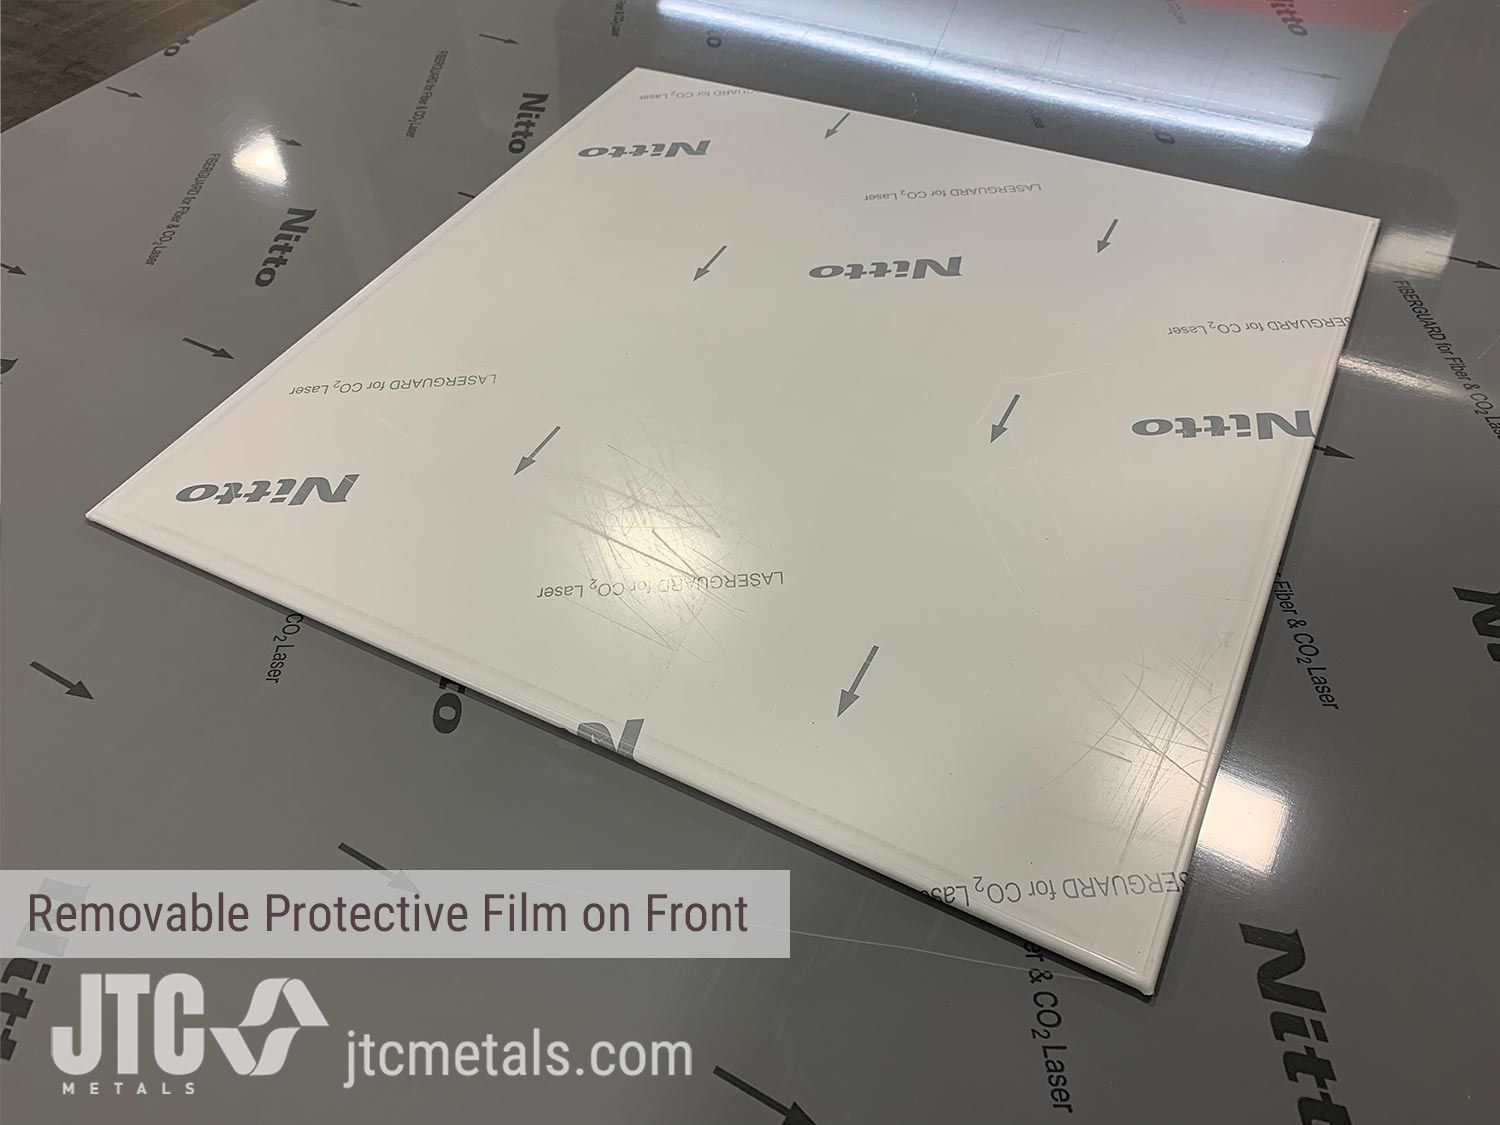
Top of PageProtective Film and Scratching - IMPORTANT!
All panels have a protective PVC film applied to the finished side of the backsplash. This may be gray, white, blue or clear and protects the finish and should be removed AFTER installation. The film ensures the finished side of the backsplash isn't scratched during processing, shipping, and installation so that you have a perfect backsplash when all is said and done. As such, don't forget the un-coated side will have scratching on it due to processing, handling, shipping, etc. The side with no film should always be facing the wall, and the side with the PVC coating should always be facing out. We’ve had more than one irate customer who didn’t read the label on the front and want to save you some frustration.
I didn't Receive Any Order Emails
With the amount of spam being what it is and filters set to ultra aggressive, there may be times when an order confirmation, receipt, or tracking email isn’t received. We do our best to ensure these get through every time, but ask that you whitelist sales@jtcmetals.com or simply keep a lookout in your spam or junk mail folders. On the rare occasion when an email is rejected, please call us and we’ll manually send you the receipt or tracking information.
Top of PageStainless Steel Surface Finishes Explained Clearly!
| Q: | What is the #4 Brushed Finish? |
| A: |
The #4 brushed finish is the most popular available today, and typically utilizes . There are various names for it including brushed, polished, satin, and sometimes even nickel finish. It's the de facto industry standard in commercial, industrial and residential applications where aesthetics and longevity are important. It's also the most consistent across batches and is easier to match when upgrading or adding to previous installations. The #4 brushed finish will never fade and is basically ageless, providing you keep it maintained. |
| Q: | What is the 2B Finish? |
| A: |
The 2B Finish is gray in color and somewhat reflective. It looks good initially, but is extremely difficult to keep pristine in applications where it will be handled and/or cleaned frequently. This has no effect on the performance or longevity of the product, but rather the aesthetics. Fingerprints, oils, and various liquids tend to stain the surface of the metal, resulting in uneven coloring and patches with different shades of gray. In addition, the 2B finish is done at the steel mill and may vary in color from batch to batch. |
| Q: | What is the BA Finish? |
| A: |
BA finish, or Bright Annealed finish is similar to a #8 mirror finish or a chrome finish. While quite uniform, the finish is done at the steel mill and may vary slightly from batch to batch of material. You'll find the BA finish on the inside of dishwashers, laundry machines, refrigerators, etc. The bright annealed finish is achieved by heating up and cooling (annealing) in a controlled environment. |
| Q: | Are Stainless Steel Surfaces Anti-Bacterial? |
| A: |
There is a common misconception about stainless steel being anti-bacterial, like copper, brass and bronze, but that is not the case. However, stainless steel is generally cost effective enough and durable enough to be cleaned and/or sterilized frequently without breaking down the surface or material. This is the reason for its popularity in everything from surgical instruments to restaurants. If it isn't destroyed by carelessness, including denting, abrading, drilling holes, etc, stainless steel will provide one of the longest-lasting and best looking finish options available. |